We all know the pitfalls of not having automated tests in our software. While some developers are still battling to integrate unit tests in their projects, others have already moved to the next chapter by using some of the great automated E2E testing tools out there.
Automated End-to-End Testing is awesome!
It completely changes the way we work, and makes the life of our QA team so much easier.
I could write way more about why testing is so important, why you should do A instead of B, but let's just assume that you already know this and move on.
While working with Cypress, Nightwatch.js, Codeception, Ranorex and others, I figured out that in the end it's always the same for every technology. In fact, it's just like what I always tend to tell my colleagues:
A sustainable testing project is more about having a well thought out architecture, than selecting a specific tool. Because in the end, they all work in a similar way.
Don't get me wrong, every tool out there has it's benefits. However they don't give you good long-term results, if you don't know how to build and handle a long lasting architecture with them.
When you develop on a normal project wouldn't you use all these wonderful design patterns and possibilities to craft a great piece of software? I guess so!
This does also apply to testing projects!
And that's what it's all about today!
Too lazy to read?! Watch the videos:
Why Design Patterns for Testing?
Let's imagine that we have hundreds of tests that all go through a "user login" process.
One day, let's say Monday, you get back to work, coming from a wonderful weekend and suddenly realizing that all these hundreds of tests are broken because someone changed the login form. Maybe it's just a broken selector of the email input field, but hey, all tests are broken and you need to fix them! (yes there is a release on Tuesday, and yes we did forget to tell QA…again…)
Fixing these tests might take a long time if you have that affected part of code duplicated across all these different files. You are heading into an 8 hour copy/paste workday with dozens of test re-runs until it all works again. And the best part after all is that you weren't even productive…there's nothing really new that you've built today!
If you would have used a concept or design pattern for your code, then a fix might have only taken 5 minutes!
In the end, all our tests use the same login operation. If that one would have been created as a centralized function in our testing project, then 1 simple modification would have automatically fixed all our broken tests.
So let's take a look at 2 of these patterns that you can use for your future projects.
Page-Object Model Pattern (POM)
This pattern recommends that an element on a page (button, textfield, even fragment…) should be wrapped by a separate class that represents that page of your web application.
So basically a simple class that acts as an interface to a specific page of your AUT.
We can think of a LoginPage class that allows us to interact with our fields on that login form. And this class will then be used in all our tests where we need it! Here's an example where we build a simple page object to access the email field. That field will later be accessed from within a test.
"Page Object" Class:
class LoginPage {

    getEmail() {
        return cy.get('#email');
    }

    // ...and more...
}
"Login" Test:
const loginPage = new LoginPage();

it('Login Test', () => {
    cy.visit('/login');
    loginPage.getEmail().type('my-test-mail...');
    // ...
}
With this approach, it's so easy to access those elements in your tests without messing around with their selectors, or how they need to behave. Just imagine, if ever something changes in your HTML structure, you can easily modify it in 1 single place.
Scripting your tests suddenly becomes much more interesting when we face and improve its underlying architecture.
Page Objects are the perfect foundation for long-living tests and low in their maintenance costs.
If you want to read more about Page Objects, please see the website of Martin Fowler: https://martinfowler.com/bliki/PageObject.html
But what if you want to improve your project even more? Then the keyword-driven approach might be something to consider…
Keyword-Driven Pattern
Keyword-Driven testing is all about building reusable "action chains" for your whole test suite. These actions build an additional abstraction layer that makes tests even easier to understand for non-technical testers!
It also implies that we do not strictly follow a certain page like with POM. Instead we build our required sequence chain, even if its "click route" might lead us across different pages.
Such an action could be a simple "Input Email" sequence or maybe a full Login Action, that handles everything for us to process a successful login.
This might all sound a bit too much at first, but gives you a tool to really build a ÜÜsolid architectureÜÜ for all your tests across your whole project.
So how does it work?!
We start by creating an Object Repository. If you are familiar with software architecture in general, you might already know this type of classes. A repository ist just a plain class that gives us direct access to data, or HTML elements in our case. So we might have something like a Login (Page) repository with 3 functions like:
- getEmail()
- getPassword()
- getLoginButton()
class LoginRepository {

    getEmail() {
        return cy.get('#email');
    }
}
The repository functions wrap the selectors of all these elements in 1 single place. If ever anything changes, this could be modified in no time.
If you are now wondering what the difference to Page Objects is, then congratulations, you just realized it's the same. So the Page Object Model is actually a design pattern to create such Object Repositories.
Now what are our actions?!
Actions are sets of operations that are built as reusable components. They are not limited to single pages. Instead, they build an operational sequence that can be started whenever needed.
This could be a "LoginAction" with a "doLogin()" function, or even with paramters like "doLogin(email, password)". It might include the visit to the account page, input of our provided email and password and clicking the login button. So whenever you need to trigger a login, just use your action. That means a test might just be like putting together different actions and finishing it with a nice assertion.
And these actions use our object repositories inside and do not access elements directly.
import LoginRepository from 'Repositories/LoginRepository';

const repo = new LoginRepository();

class LoginAction {

    doLogin(email, password) {

        cy.visit('/login');

        repo.getEmail().clear().type(email);
        repo.getPassword().clear().type(password);

        repo.getSubmitButton().click();
    }
}
Is it worth it?!
If you do more E2E testing, you figure out that you probably need the same actions across different tests. And these actions might also access the same elements of your repositories.
Also said, defining and building actions requires a bit of experience!
Large actions might seem fine at first, but sometimes you want to reuse sub-parts of a large action. In that case you could split it into smaller actions that can then be used independently. Or just use smaller actions in your larger one. The best approach really depends on how you build your architecture and how your test cases and their assertions look like.
Scenarios
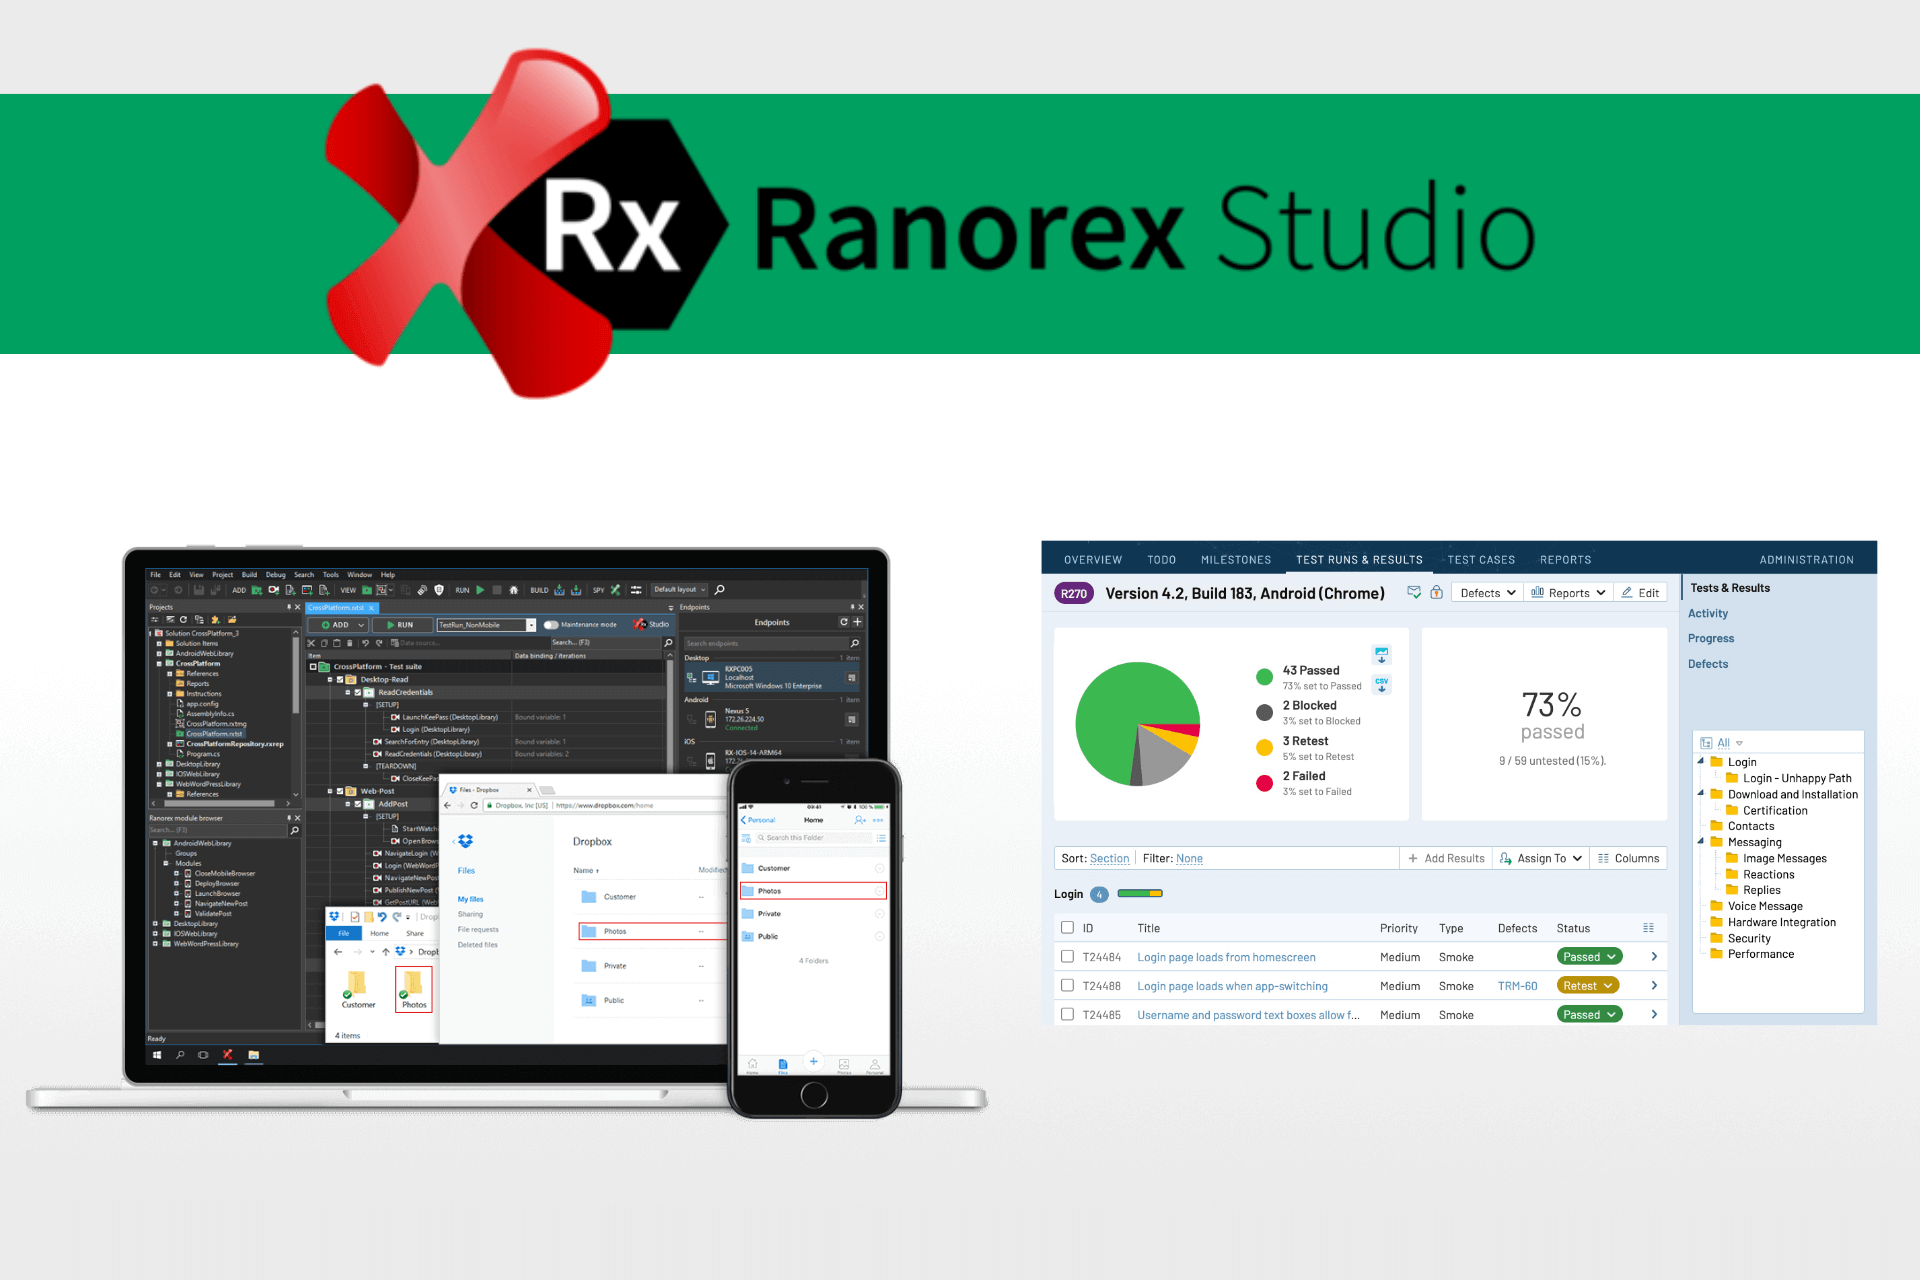
This is no "real" pattern, but you can see such approaches in some tools like Ranorex (modules)…if I'm wrong, then it may just have sprung from my brain :).
So what if you have repeating actions over and over again? Just like preparing a shopping cart when testing an online shop system?! Instead of having duplicate code with our actions, we could easily combine those sets of actions into something I like to call "scenario".
So maybe a "Dummy Basket Scenario" in that case. It would simply prepare a basket for us that we can then use in our tests. We might also be able to configure it by setting a custom quantity. Or maybe a "Dummy User Scenario" that registers a user and makes sure, he is logged in and can user the shop as known user.
So lots of ideas, but also really depending on what you have in your tests.
I'm a fan of using the Command Pattern for these scenarios. It allows me to configure the scenario within the constructor in a very clean way, and then simply execute it, without thinking about it.
So just create a class like this:
import RegisterAction from 'Actions/RegisterAction';
import SessionAction from 'Actions/SessionAction';
import LoginAction from 'Actions/LoginAction';
import TopMenuAction from 'Actions/TopMenuAction';
import ListingAction from 'Actions/ListingAction';
import PDPAction from 'Actions/PDPAction';

// ....create instances.....

class DummyBasketScenario {

    constructor(quantity) {
        this.quantity = quantity;
    }

    execute() {
        register.doRegister('..user..', '...pwd...');
        session.clearSession();
        login.doLogin('..user..', '..pwd..');

        topMenu.clickOnClothing();
        listing.clickOnFirstProduct();

        pdp.addToCart(this.quantity);
    }
}
Our class can then be easily used across all your tests where you need a prepared shopping cart with a specified quantity.
import DummyBasketScenario from 'Scenarios/DummyBasketScenario';
// configure a dummy basket with quantity 2
const scenario = new DummyBasketScenario(2);
scenario.execute();
Conclusion
Creating automatic E2E tests is way more than just putting together click after click! It requires advanced knowledge and skills to build a solid architecture that lasts as long as your actual AUT.
But it's totally worth the time and effort, and I would strongly recommend giving it a try in your next project!urity in mind, and you'll be very happy with Consul in your stack!