Shopware has unveiled an innovative approach to augmenting your Shopware shops alongside traditional plugins with the advent of the Shopware App system. Shopware Apps represent a paradigm shift in e-commerce extensibility, offering sandboxed thin app clients that can be effortlessly installed and removed with just a single click. The underlying core logic has been relocated to a dedicated backend system, with the added flexibility of employing any programming language that supports HTTP requests.
But why is it such a great thing?! Although it comes with quite a lot of effort (depending on what you are building) it gives you full control over what is done in all merchant shops. If you want to fix a bug, just fix it, and every merchant automatically uses the latest version of your code. On the other hand, if you introduce a bug...yeah....you know ;).
Moreover, this innovation offers substantial advantages for various Shopware hosting configurations. The Shopware cloud system, by its nature, restricts plugin installations due to the potential for deep or unforeseen alterations to the core, which could impact the functionality of other merchants' shops. In contrast, the sandboxed app environment imposes strict safeguards against risky modifications.
An additional boon lies in the capability to deploy apps on on-premise instances of Shopware, further reinforcing the merits of centralized hosted source code.
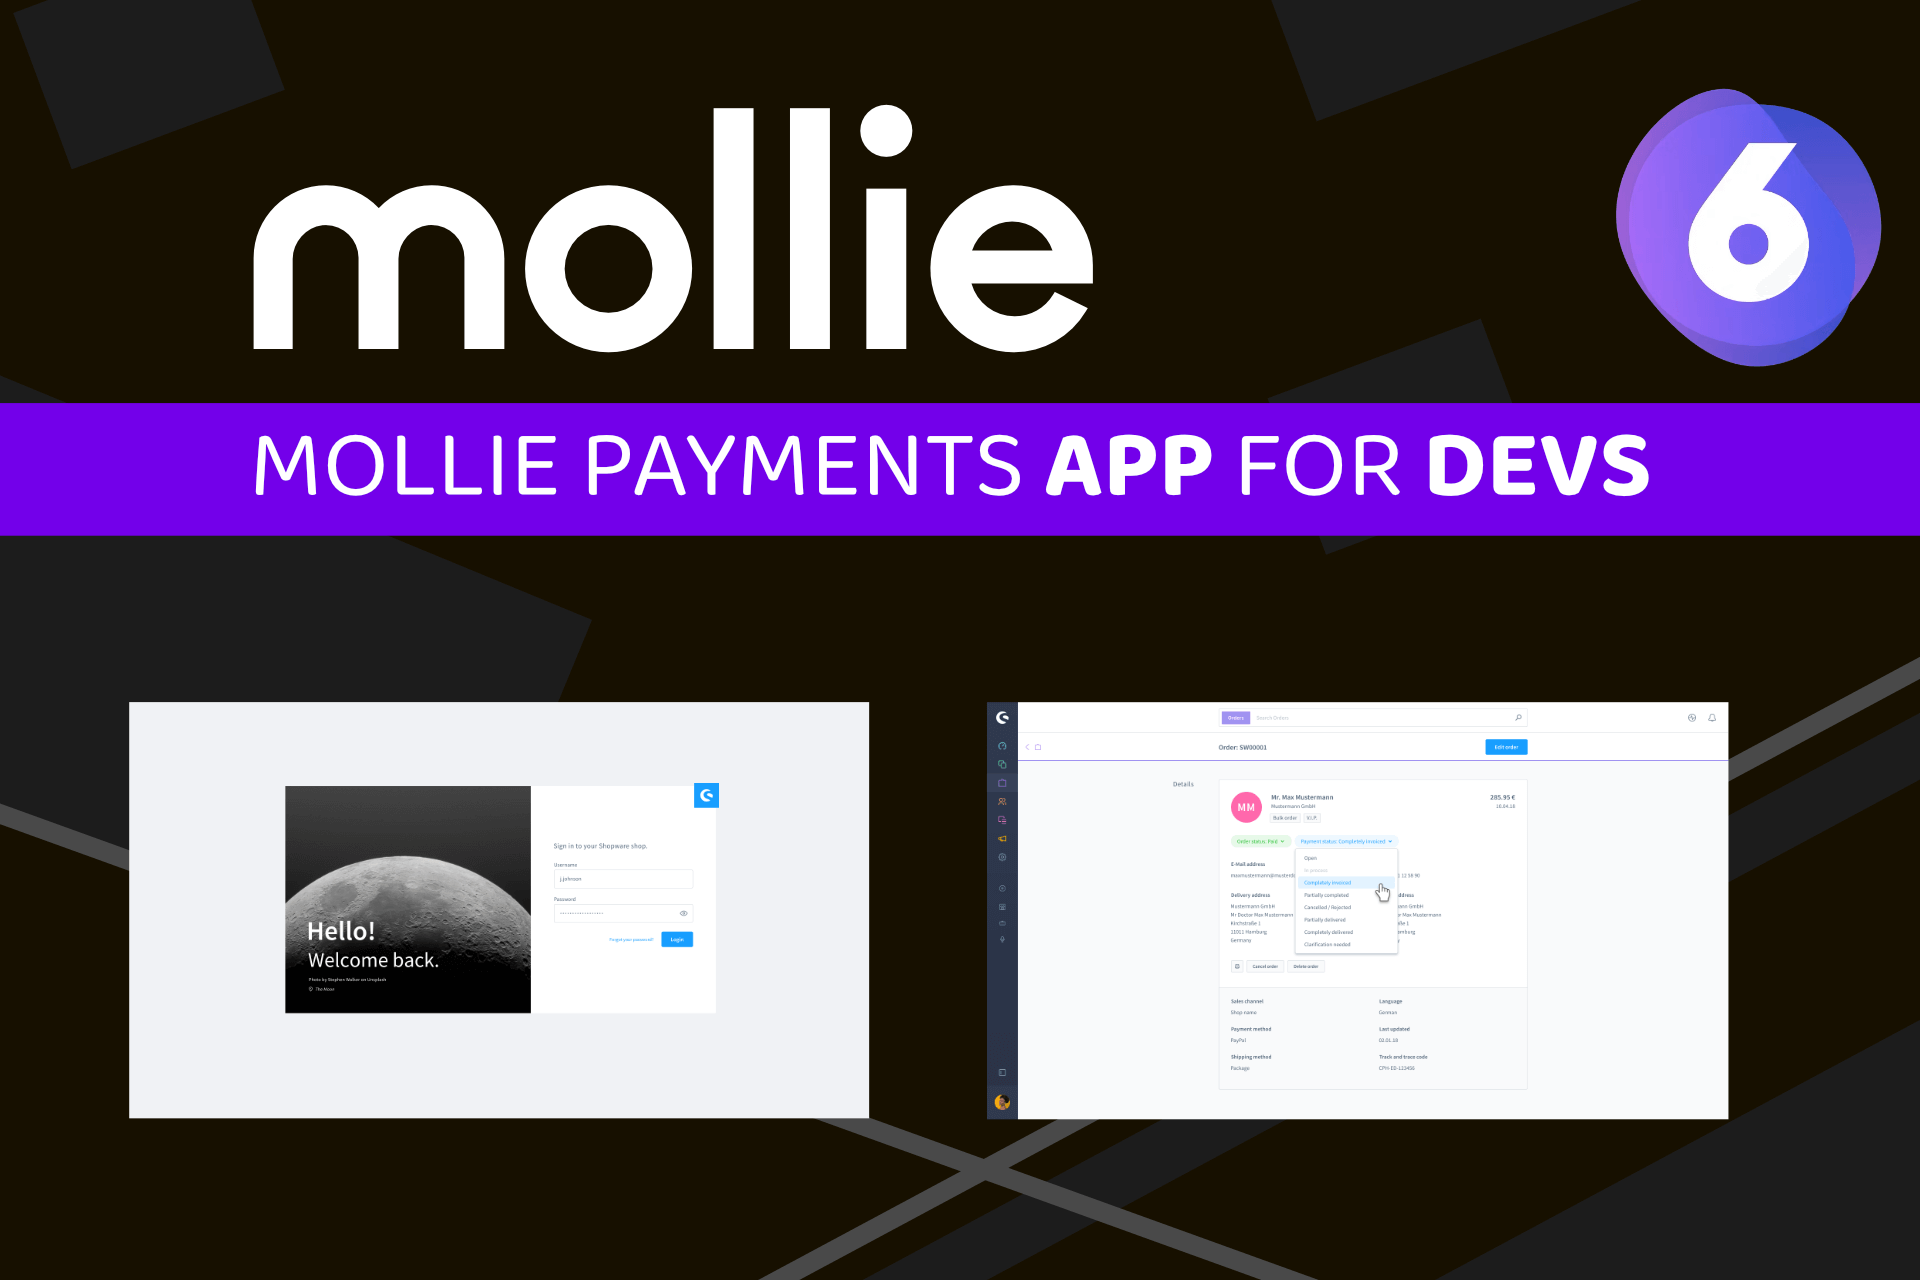
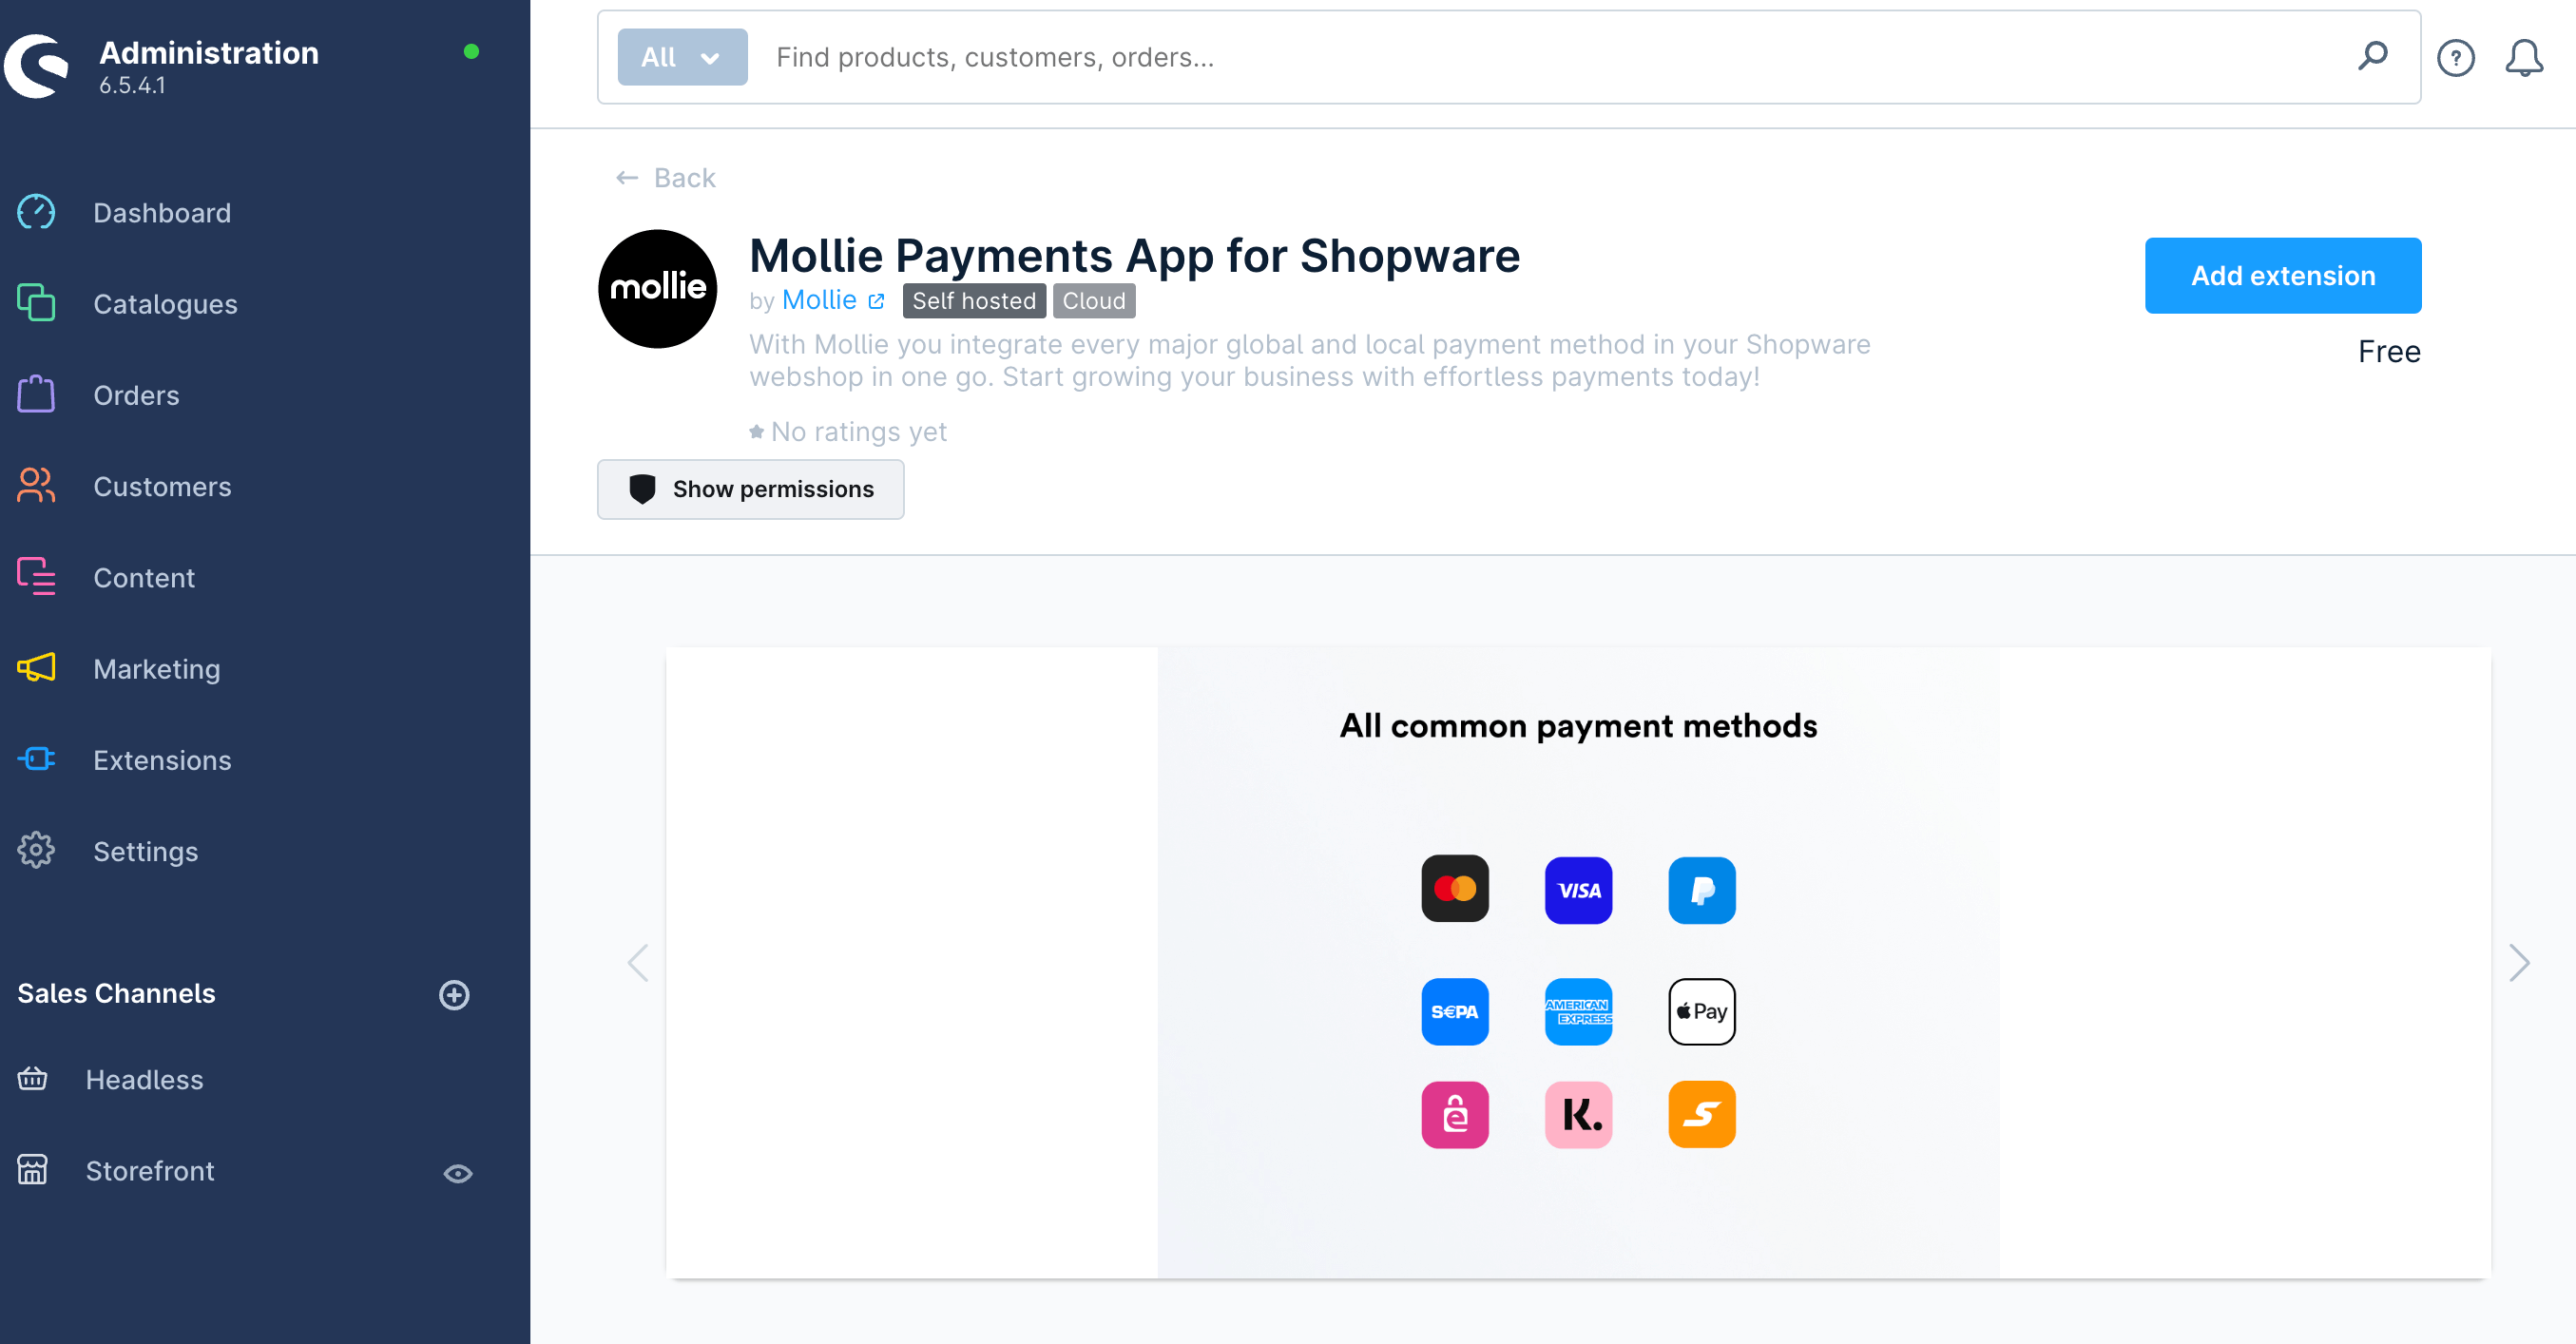
Mollie (www.mollie.com), a leading payment provider for Shopware, has recently unveiled its official Shopware App. Although it already supports a wide variety of payment methods, it's important to note that in comparison to the huge list of features of the Mollie Shopware plugins, there are certain functionalities that the App is not yet supporting.
But how would you actually develop with the Mollie Payments App as an agency or freelancer? Even locally on your machine?
While it might not seem to be very easy, only a few steps are required to use Shopware Apps and the Mollie Payments App locally on your machine.
What is the problem with local setups?
Shopware Apps are seamlessly installed using a unique handshake approach, a robust method that guarantees a dependable and secure connection between a merchant's shop and the backend system.
To facilitate communication with Shopware from a backend system, the Shopware API serves as the primary channel. However, it's important to note that this requires your Shopware store to be accessible from external sources. If you're working in a local environment that's not connected to the internet, you might encounter challenges when dealing with Apps that require a two-way communication.
Fortunately, there's a straightforward solution to this. You can easily make your local setup accessible from the internet, enabling you to harness the power of Shopware Apps, including the Mollie Payments App.
Setup Dev Environment
Start Shopware
In our local development environment, we've opted to use Docker. It's a reliable choice that serves us well, although it's worth noting that there are various alternatives available for development.
Regardless of the method you choose for setting up your local environment, the key factor is the ability to make your local setup accessible via the internet.
Let's launch a new Shopware shop using Docker and dockware:
docker run -p 443:443 --name shopware dockware/dev:6.5.4.1This initiates the creation of a fresh Shopware 6.5.4.1 instance accessible at https://localhost. The Docker container responsible for this will be named shopware.
Once the docker image has completed its setup, you should be able to access the administration panel via https://localhost/admin, allowing you to log in and start managing your Shopware instance.
Expose Shopware to the internet
Before we proceed with the installation of the Mollie App, it's crucial to ensure that our Shopware instance and associated domain are correctly configured and accessible on the internet.
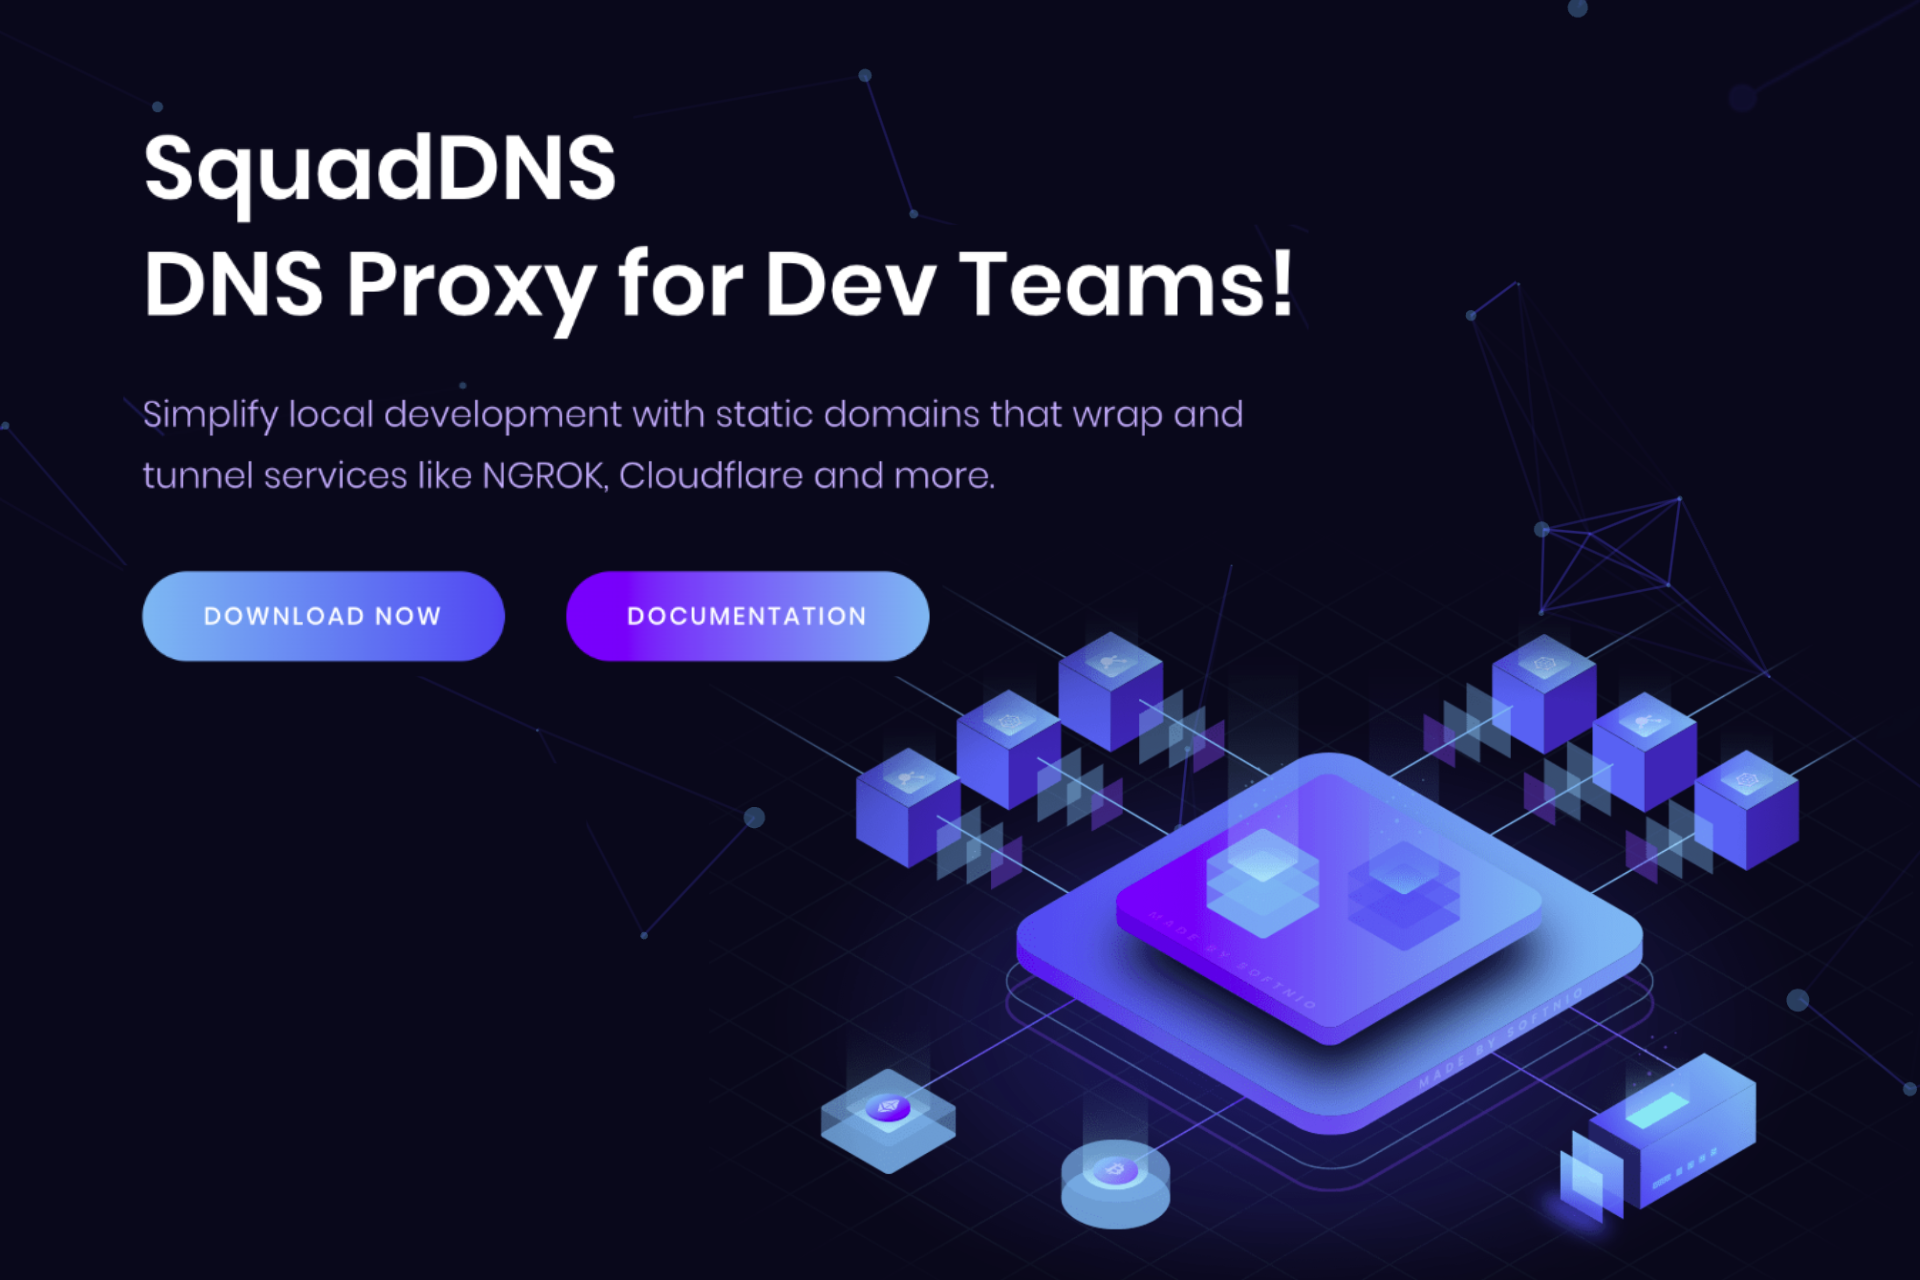
To achieve this, we'll employ services like NGROK or Cloudflared, which will enable us to expose our local setup to the internet. This will provide us with either a static or randomly generated domain that we can utilize.
When working with Mollie, as well as other apps, it's important to note that every domain must be registered in their systems. Relying solely on a new random domain can potentially lead to issues in certain scenarios. For example, certain payment methods like Apple Pay in Mollie have limitations on registered domains, which may result in functionality disruptions. Therefore, I strongly recommend using a static domain for your local setup. You can either utilize the built-in services from NGROK or Cloudflared or explore proxy setups for your organization, such as SquadDNS. A comprehensive guide can be found here: https://docs.squad-dns.com/tutorials/shopware/shopware-app-system
Once we have our domain (I personally use a custom domain via SquadDNS), the next step involves configuring it within Shopware.
Begin by opening the .env file located in the root folder of Shopware within our container. Here, you'll need to make adjustments to the APP_URL parameter to align with your specific domain:
APP_URL=https://my-tunnel.company.com Then clear your caches using this command.
php bin/console cache:clearThe APP_URL plays an important role when registering our app with the backend system. Essentially, the backend system relies on this URL to establish a communication with your Shopware shop.
Next, it's crucial to configure the domain settings for your sales channel to ensure your storefront is accessible. To do this, access the Shopware administration panel, navigate to your sales channel, and create a new domain entry. Please also keep in mind to adjust the HTTPS settings accordingly.
Congratulations, your Shopware shop is now available with your configured domain.
Register your domain in Shopware (one time configuration)
Before we can install an official plugin from the store, we have to register your domain in Shopware. Yes there are different options for this one. In this article I will show the most official one for domain and shop registrations.
Start by signing in into your Shopware Account at https://account.shopware.com. There open the Merchant area and see the list of registered shops.
Add a new shop with your static development domain. You might also want to assign the purpose "development".
When being asked to verify your domain, please create a sw-domain-hash.html HTML file in the public folder of your local Shopware installation and add the personal given hash value as content. Please keep your hash value in a safe space for upcoming installations!
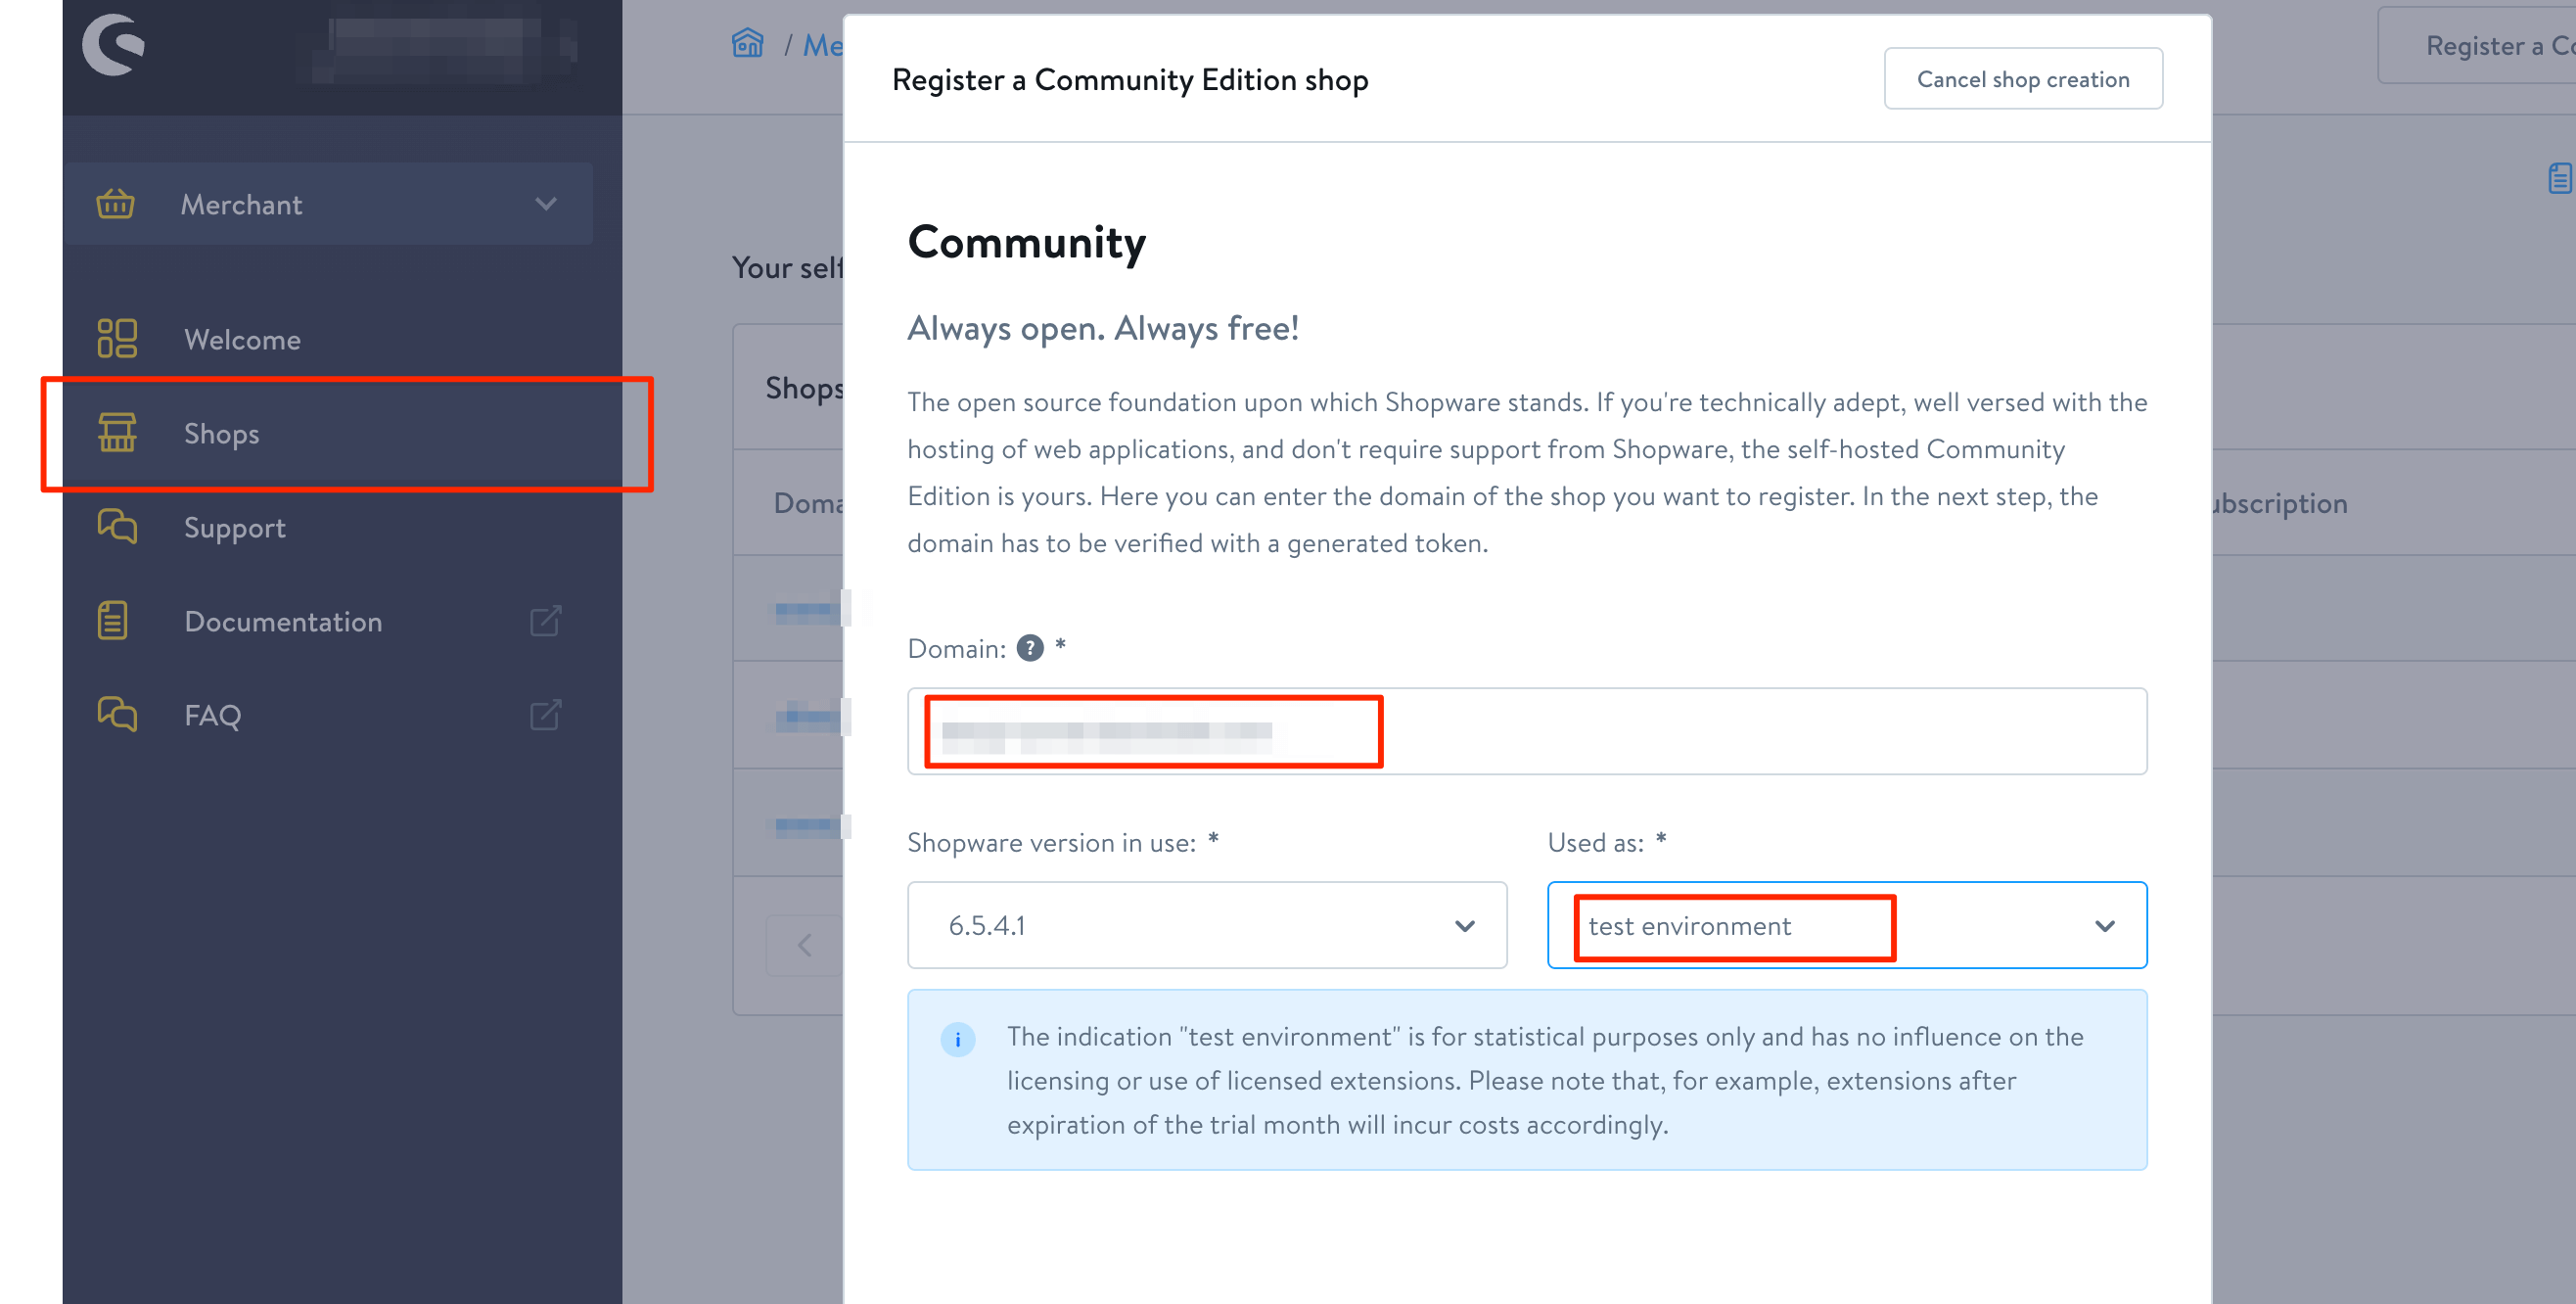
Now continue with the validation process. If it passes, then you have successfully registered your domain in Shopware.
The next step is to open the Shopware administration and navigate to Settings -> System -> Shopware Account. Enter the domain and your custom hash value and click on save.
You are now ready to access the Shopware store in your local development environment.
Install the Mollie Payments App
Let's finally install the Mollie Payments App.
Open your Shopware administration and open the Extensions / Store page. You should be asked to sign in to your Shopware account if you haven't yet.
If your domain is correctly registered, you should be successfully logged in to your account and the official Shopware plugin store is now visible.
Search for the Mollie Payments App (don't use the plugin of Mollie). If you have found it, just download and install the app.
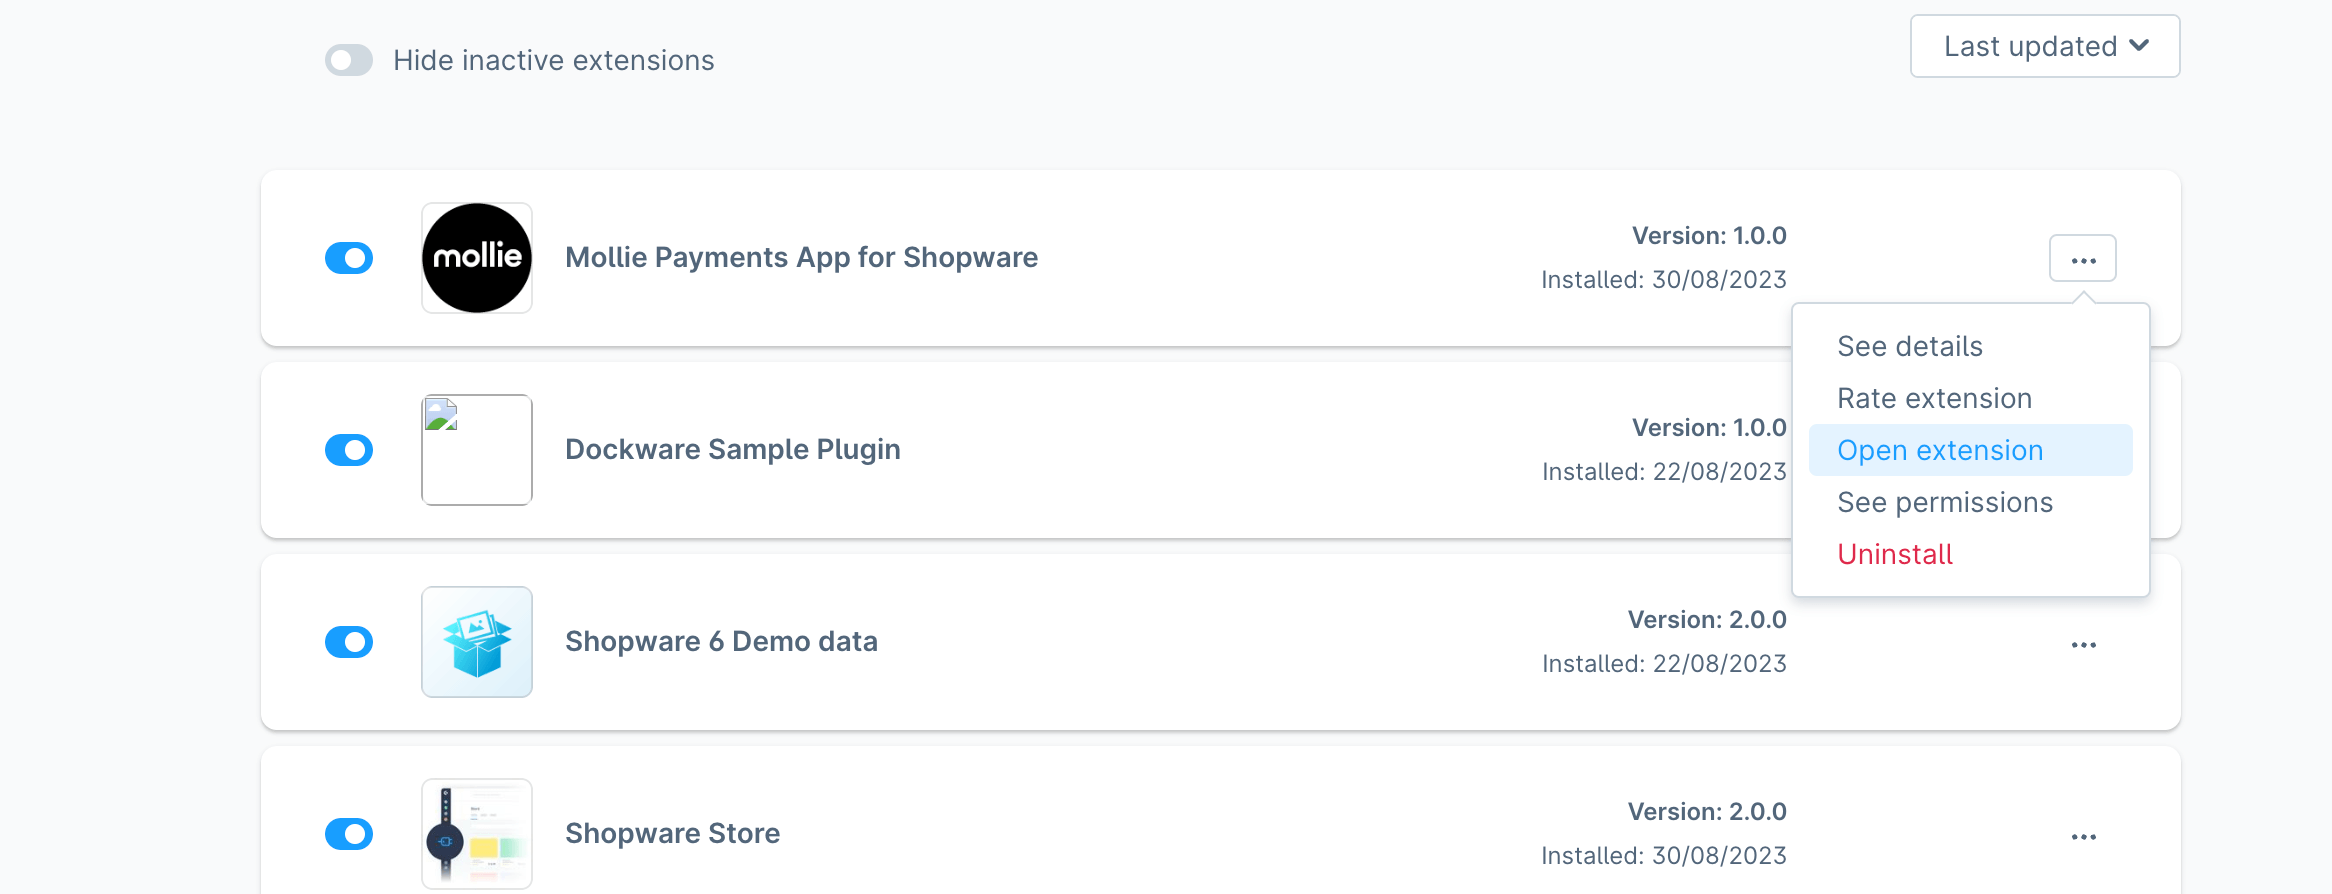
When the app has been successfully installed, try to reload your browser, so that the Administration will be reloaded too (I couldn't access the app configuration before that). Now just open the navigation Extensions -> My Extensions, make sure the Mollie App is installed and activated, and click on the options and use Open extension.
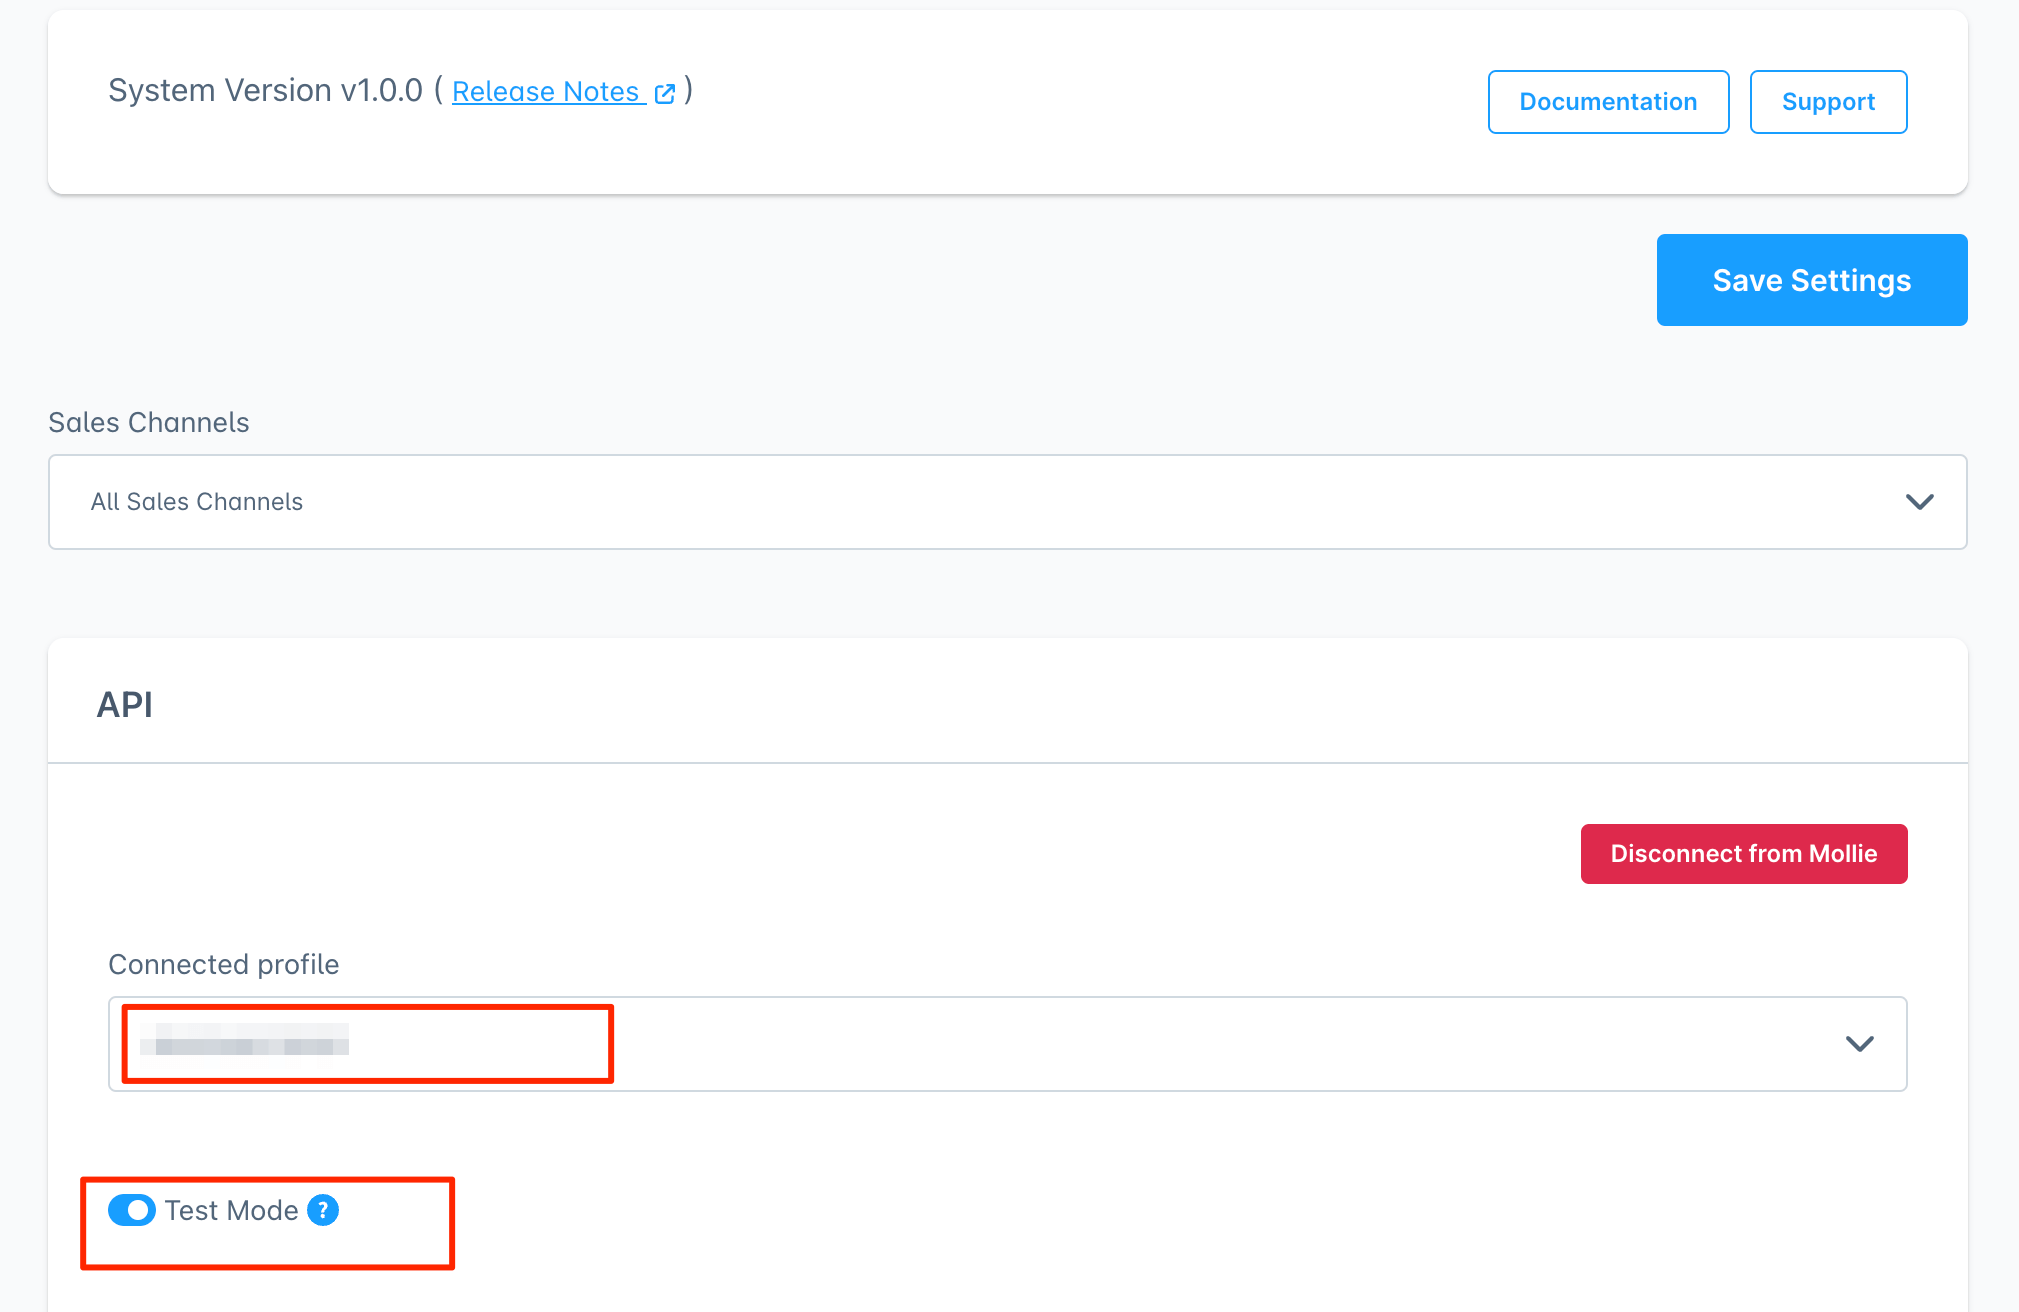
You are now redirected to the configuration page of the Mollie Payments App.
Click on Connect with Mollie.
This will bring up a new modal where you sign in to your Mollie Account.

Grant access, and you will automatically see how the configuration page reloads and shows all kinds of settings. Make sure to set a correct Mollie profile, and use the Test Mode, if required. Don't forget to save your settings!
That's it, we can now test the Mollie Payments App.
Create first payment
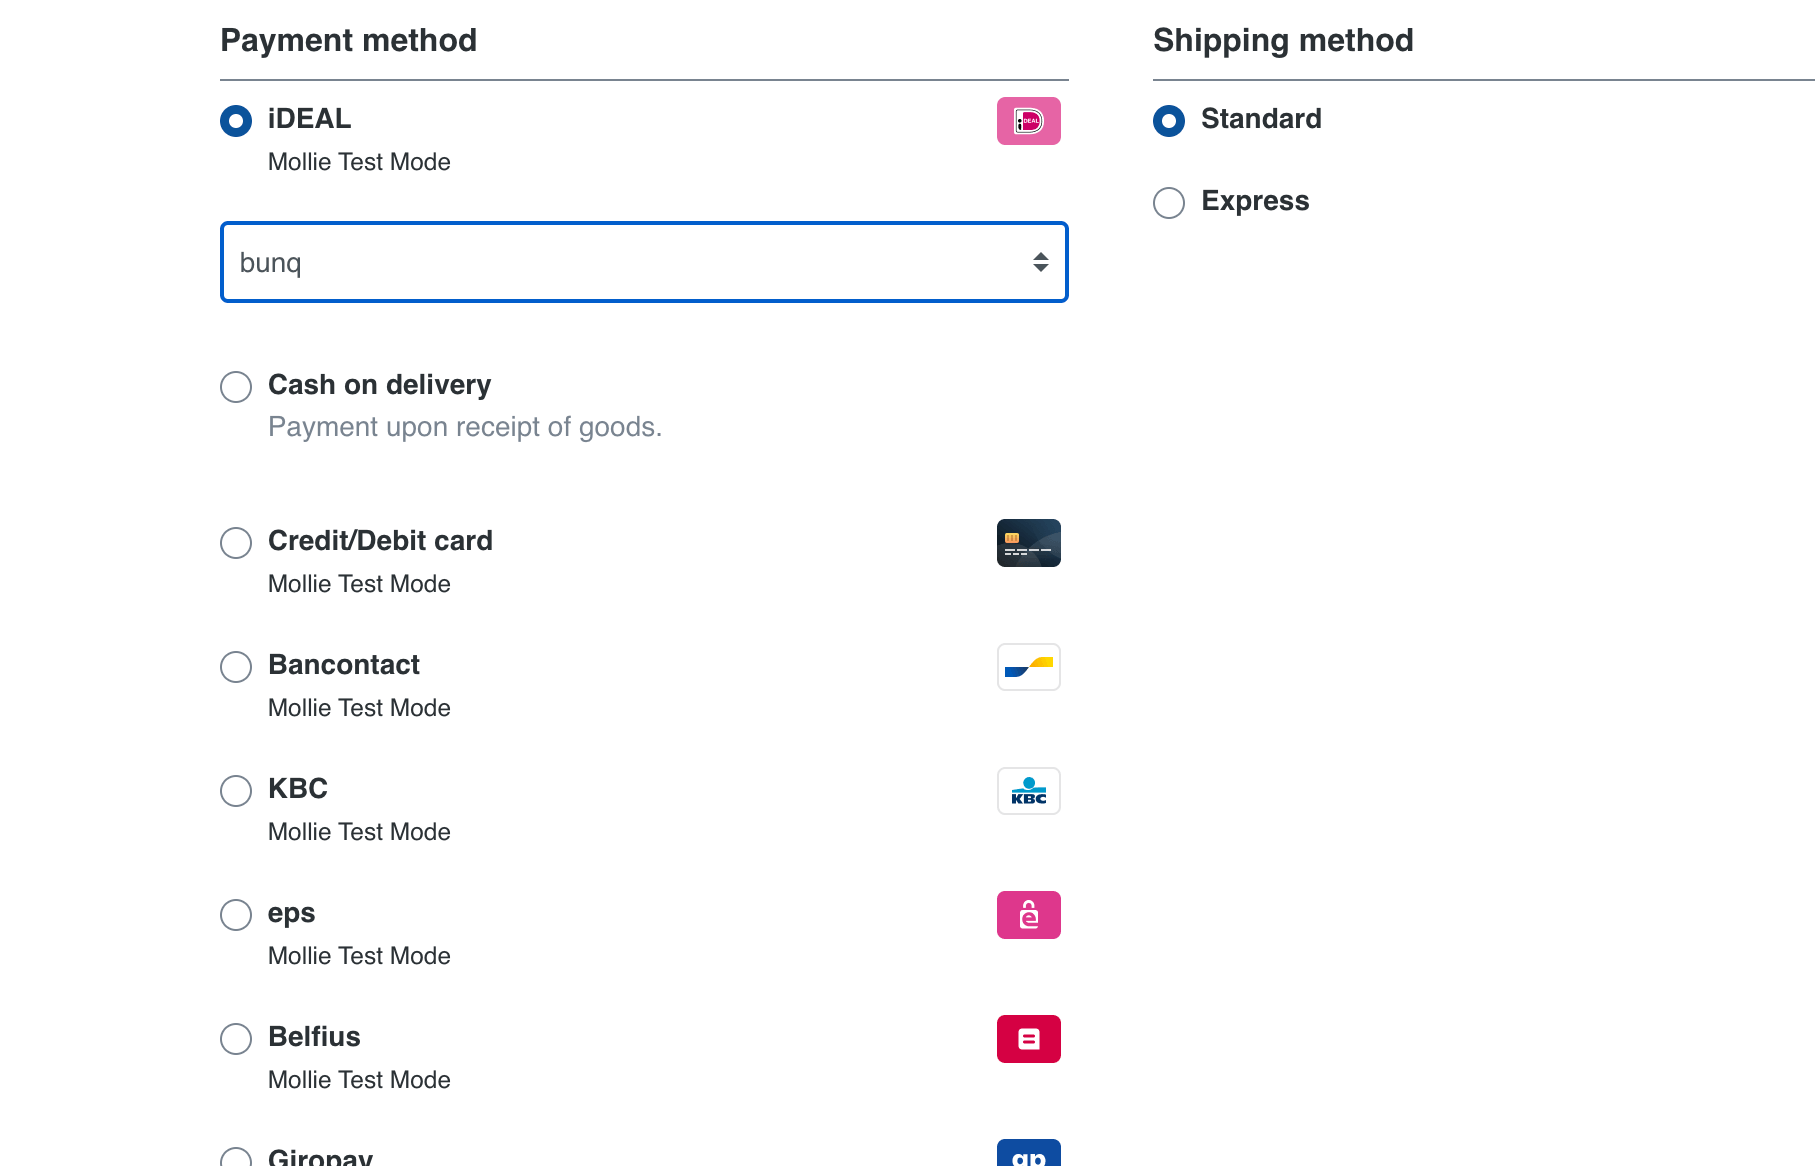
Let's start by assigning your required payment methods to your sales channel. Do this by opening your sales channel in the Shopware administration and select the payments methods you want to use. Then save your settings.
Now open the storefront and start a checkout.
If you have test mode activated you should see a small info box at the bottom of every payment method. If that doesn't work for some reason, just clear your caches (I had to do this).
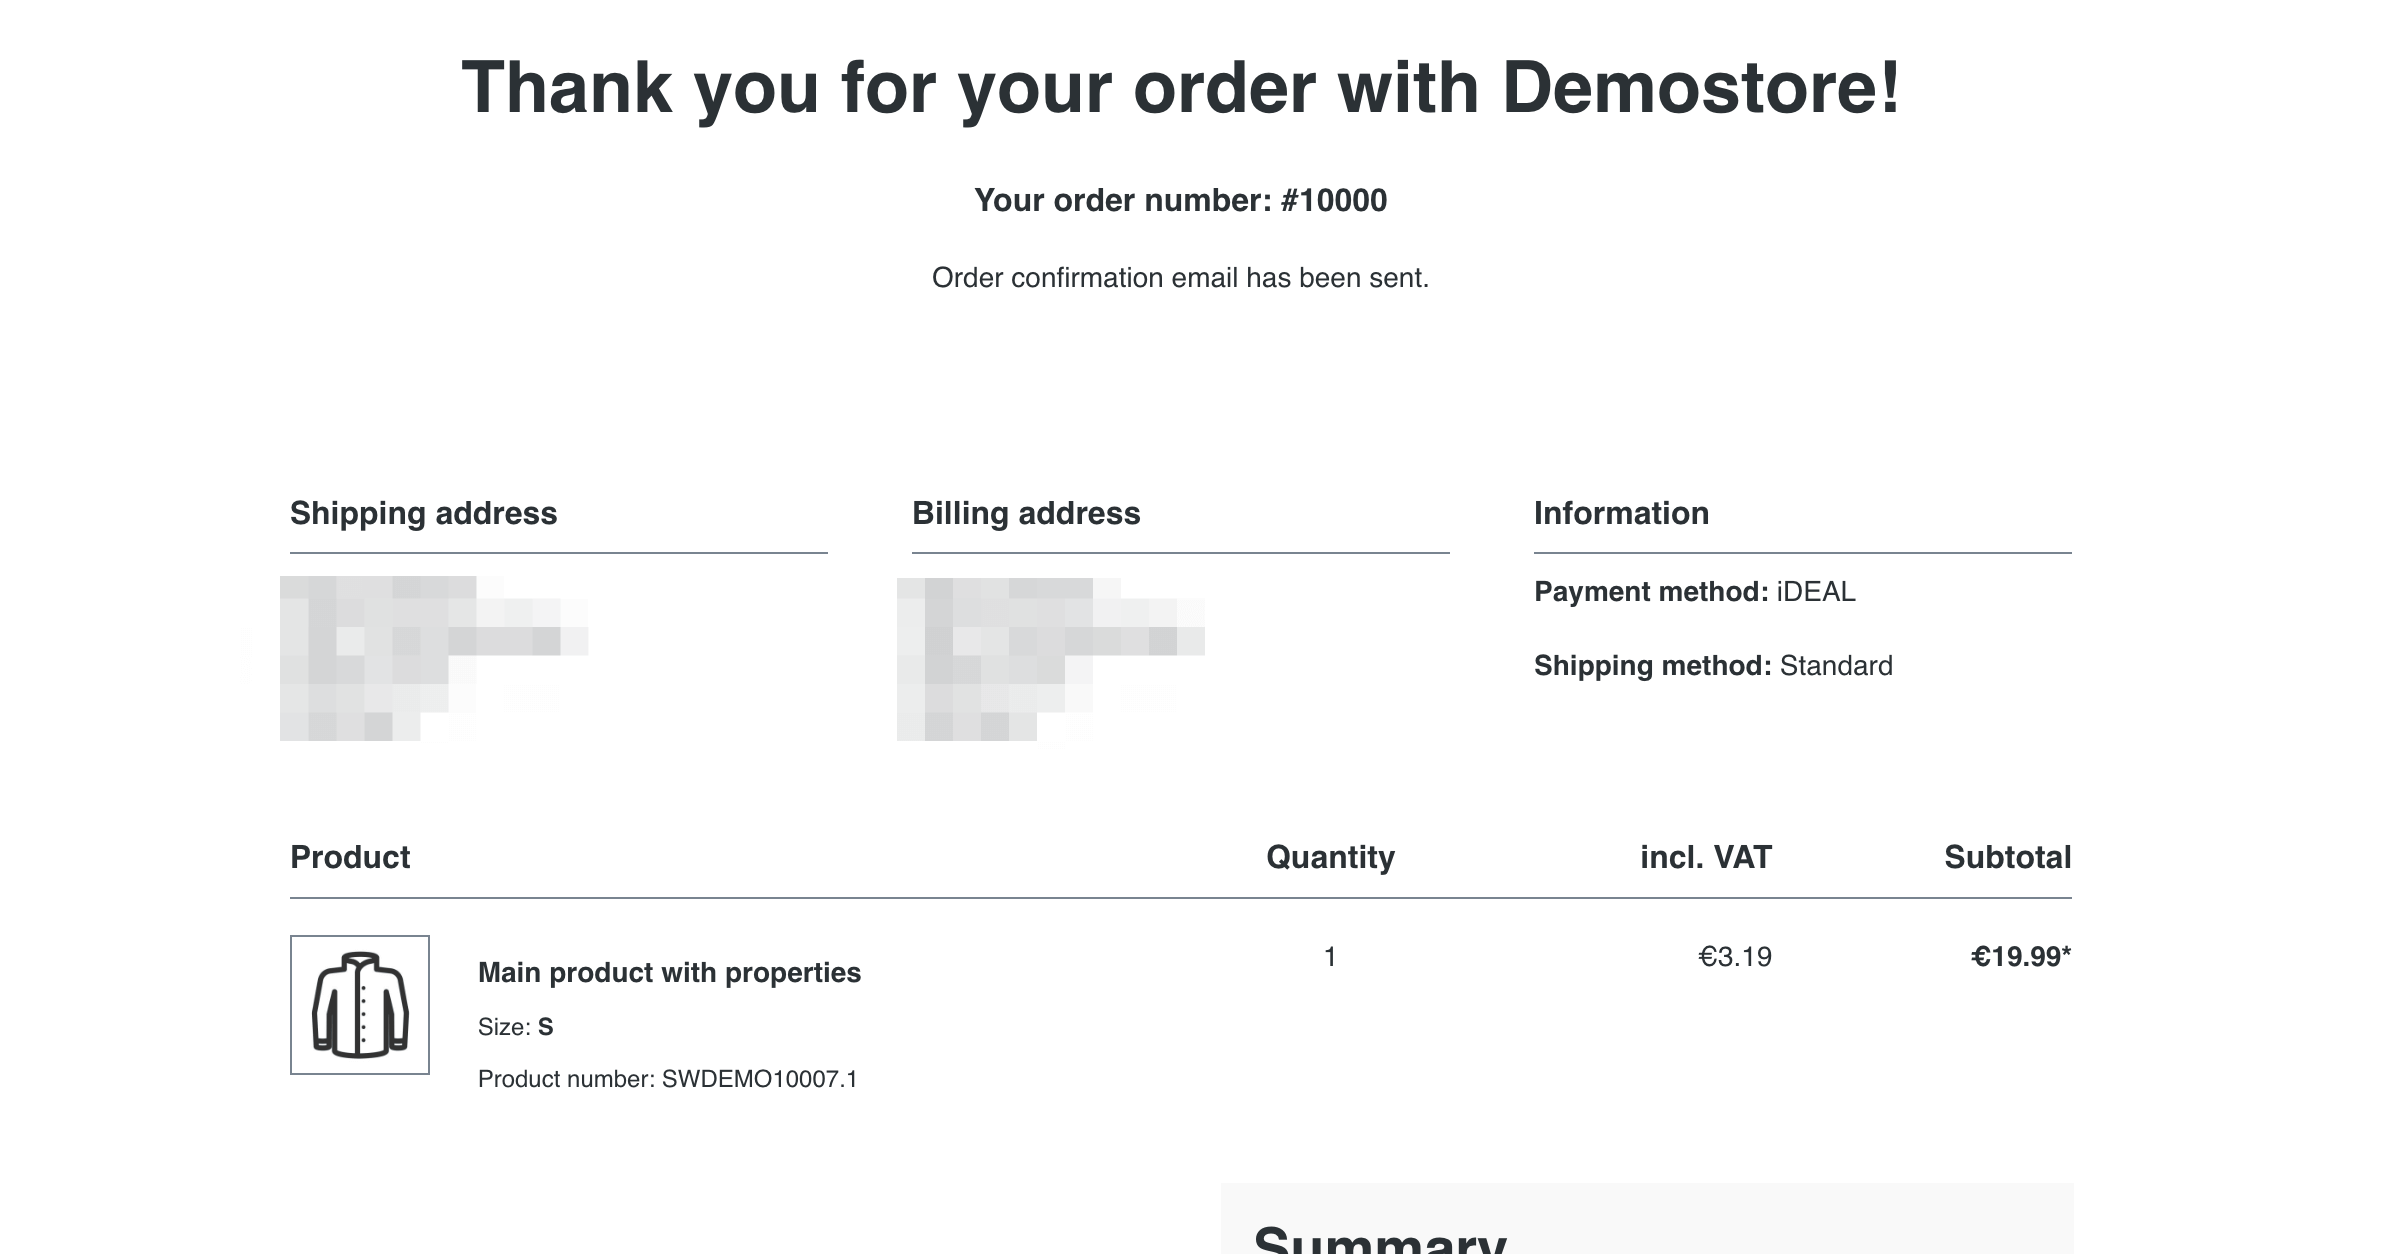
It's time to start a payment with any Mollie payment method.
When you place the order, you are redirected to the Mollie sandbox page where you can set any payment status you want.
And the great thing for developers with this setup is, that also all Mollie webhooks will be automatically sent to your shop, so you can fully test the whole payment experience of Mollie.
Conclusion
Although the Shopware App system seems to be a bit hard to use in local development setups, it's indeed possible with just a few steps.
Expose your local shop, register a domain and start payments with the new Mollie Payments App. And the best thing is, you even get real webhooks in your local development environment.
Links: